Here’s a video explaining how to replace an electrical socket in Australia. Hope you find this useful.
A Comprehensive Guide to Changing an Electric Socket in Darra, Australia
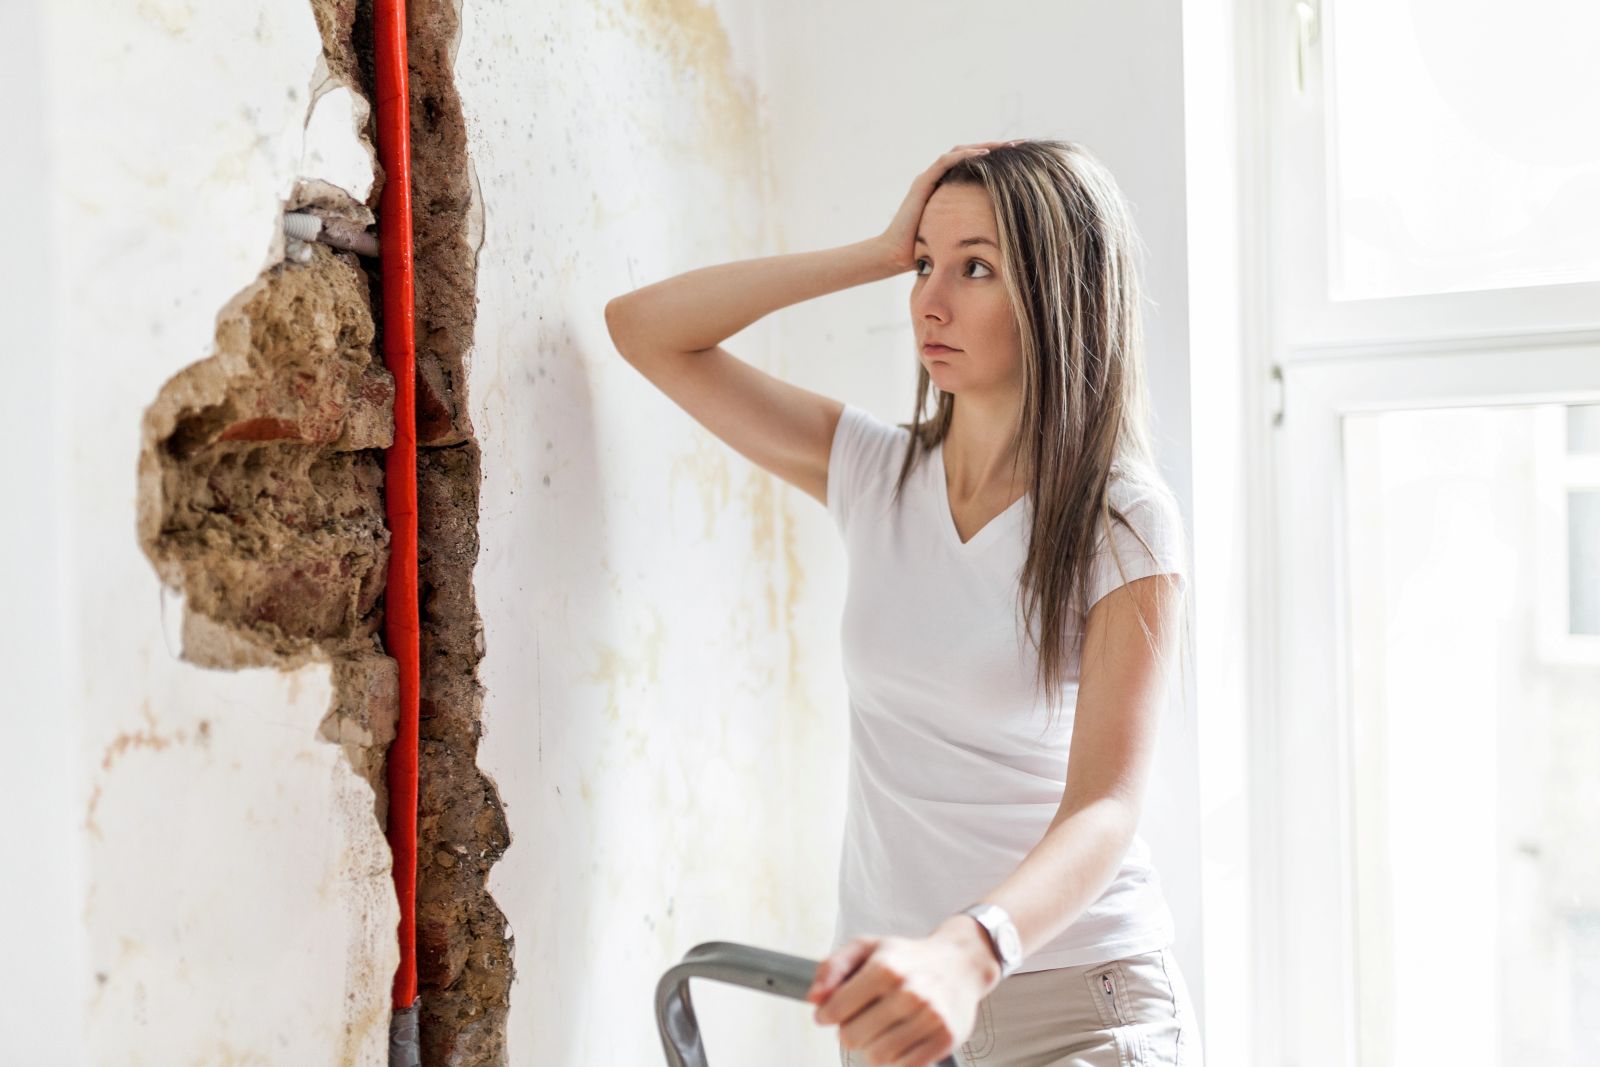
Safety First: A Priority in Darra
Before embarking on any electrical work, prioritize safety. In Darra, as in all of Australia, electrical safety is paramount. Always ensure the power is off before working on a socket. Here’s a step-by-step guide:
- Locate the Main Switchboard: The main switchboard is typically found in the garage or near the main entry. It controls the electrical circuits in your home.
- Identify the Circuit Breaker: Use a circuit tester to pinpoint the specific breaker that controls the socket you’re working on. This is crucial to ensure you’re working on the correct circuit and preventing accidental power surges.
- Switch Off the Breaker: Turn the breaker to the “Off” position. A visual indicator will confirm that the power is off. This step is essential to prevent electric shock and potential injury.
Gather Your Tools and Materials
For a successful socket replacement, you’ll need:
- Screwdriver: A Phillips or flathead screwdriver, depending on the socket screws. Ensure it’s the correct size to avoid damaging the screws or the socket.
- Wire Strippers: These tools are used to remove the insulation from the ends of the wires, allowing for proper connection to the new socket.
- Voltage Tester: A voltage tester is essential to verify that the power is off before and after the replacement. It helps prevent accidental electric shock.
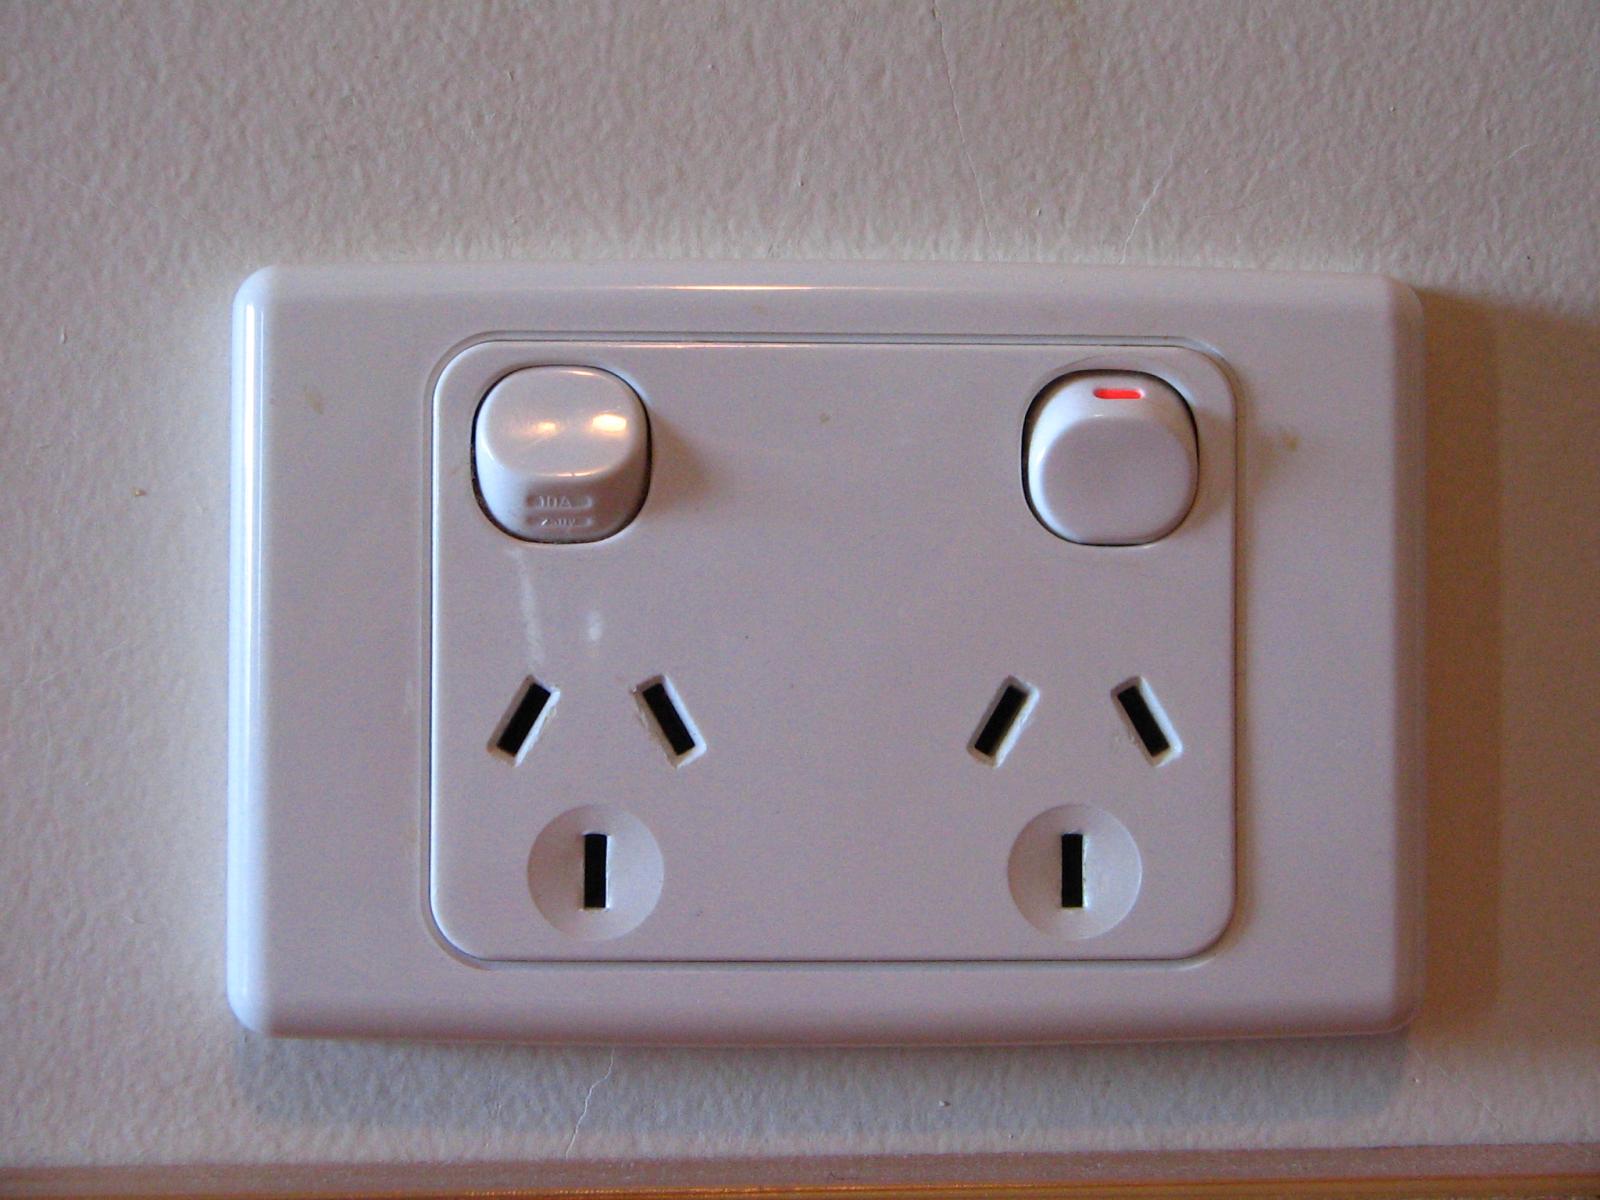
- New Electric Socket: Ensure the new socket is compatible with Australian electrical standards. The socket should be of the same type and size as the old one.
- Safety Glasses: Protecting your eyes is crucial during any electrical work. Safety glasses can shield your eyes from potential sparks or debris.
- Electrical Tape: Electrical tape can be used to provide extra insulation to the wires and prevent accidental contact.
Remove the Old Socket
- Unscrew the Cover Plate: Use a screwdriver to remove the screws holding the cover plate in place. The screws are typically located on the edges of the cover plate.
- Disconnect the Socket: Carefully pull the socket away from the wall. Be gentle to avoid damaging the wires or the wall.
- Detach the Wires: Note the color and arrangement of the wires (a photo can be helpful). Unscrew the terminals and disconnect the wires. Pay attention to the order and connections to ensure proper reconnection.
Prepare the New Socket
- Strip the Wires: Use wire strippers to remove about 10mm of insulation from the ends of the wires. Ensure you strip the correct amount of insulation to avoid exposing too much or too little of the wire.
- Connect the Wires: Connect the active (brown), neutral (blue), and earth (green/yellow) wires to the corresponding terminals on the new socket. Tighten the screws securely, but avoid overtightening, which can damage the wires or the terminals.
Install the New Socket
- Push the Socket In: Carefully insert the new socket into the wall cavity. Ensure it’s aligned properly with the electrical outlet box.
- Secure with Screws: Use the provided screws to attach the socket to the wall. Tighten the screws securely, but avoid overtightening, which can damage the socket or the wall.
Test the Socket
- Turn on the Power: Switch the circuit breaker back to the “On” position.
- Use a Voltage Tester: Check if the socket is receiving power. This is a crucial step to ensure that the new socket is functioning correctly.
- Plug in a Device: Plug in a small appliance to confirm functionality. This will verify that the socket is working properly and providing power to your devices.
Reattach the Cover Plate
- Secure the Plate: Place the cover plate over the socket and fasten it with screws. Ensure the screws are tightened securely to prevent the cover plate from coming loose.
Final Checks
- Ensure all screws are tight. This will prevent the socket from becoming loose or unsafe.
- Check that the socket is flush with the wall. A flush socket will look neat and prevent accidental damage.
- Dispose of the old socket and packaging responsibly. Properly dispose of the old socket and any packaging to avoid environmental harm.
Additional Tips for Darra
- Local Regulations: While the general process is similar nationwide, Darra may have specific local regulations regarding electrical work. Check with your local council for any requirements or permits.
- Hiring a Professional: If you’re unsure or uncomfortable with electrical work, consider hiring a licensed electrician in Darra. AMAC Electrical is a reputable choice in the area.
- Safety First: Always prioritize safety. If you have any doubts, consult a professional electrician.
Remember, if you’re not comfortable working with electricity, it’s best to hire a licensed electrician like AMAC Electrical in Darra, Brisbane to change the electrical socket for you. Safety should always be the top priority.